
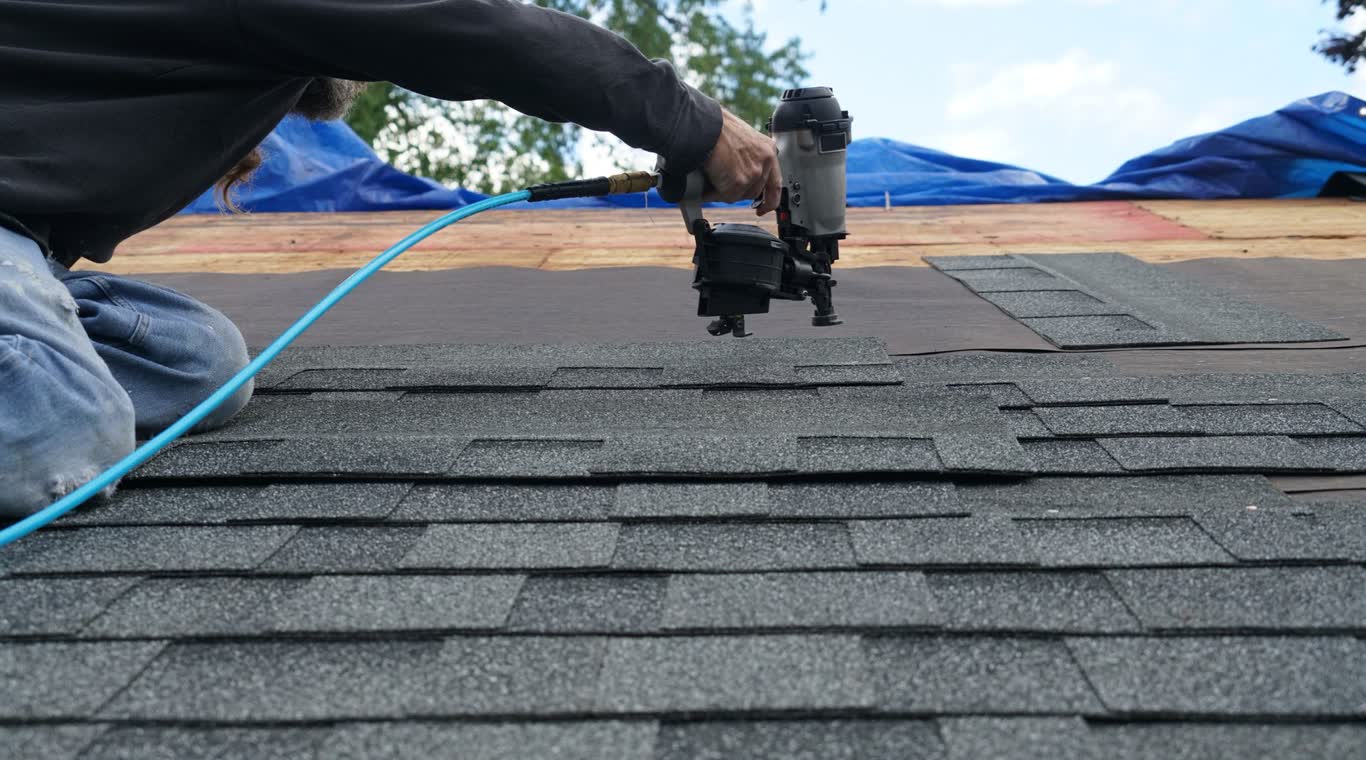
Roof inspection day in Lake Worth is simpler than many homeowners expect. The inspector walks the outside of the home, checks the roof from a safe spot, looks in the attic and takes photos. You then get a written summary of what was found. Knowing each step helps you prepare and ask the right questions.
Before the Visit: Simple Ways to Get Ready
A little preparation makes the visit go faster. Gather information about your home so you can answer questions and share its history.
- Write down any leaks, stains or unusual sounds you have noticed.
- Note the date of your last roof work, if you know it.
- Gather photos of any storm damage or loose items in the yard.
- Clear a path to the outdoor water spigot and the electrical panel.
- Move stored items out of the attic access area.
Ask the company which areas they will inspect. Some visits focus on the roof alone. Others also include gutters, soffits, fascia and flashing around vents and chimneys.
Step One: The Exterior Walk-Around
The visit usually starts on the ground. The inspector walks around the home and looks at the roof from several angles. They check the shingles or tiles, the gutters, the soffits and the fascia. They also look at trees and branches that touch or hang over the roof.
This first look helps spot problems that are easy to see from below. Cracked tiles, lifted shingles and sagging roof edges often show up here. Loose gutters and dark streaks can also point to issues higher up.
Step Two: Roof Access and a Close Look
Next, the inspector gets on the roof when it is safe to do so. Access depends on the roof type, the slope and the weather. On a wet or windy day, the inspection may wait. Safety comes first for both the inspector and your home.
On the roof, the inspector looks at the surface, the flashing and the seals. They check around vents, pipes, skylights and chimneys. They look for worn granules on shingles, cracks in tiles and standing water on flat roofs. They also check how the roof edge meets the walls.
Step Three: Photos for Your Records
Photos are a key part of the visit. The inspector takes pictures of the roof surface, problem areas and any damage. These images help you see what the inspector saw. They also create a record you can keep with your home papers.
A good inspector will explain each photo as you review it. Take notes if that helps you remember the details.
Ask to see the photos before the report is final. Clear photos make it easier to talk through repair options and decide what to do next.
Step Four: The Attic Check
The attic shows what is happening under the roof. The inspector looks at the roof boards, the rafters and the insulation. They check for water stains, damp spots, daylight through gaps and signs of past leaks. They also look at attic ventilation.
A dry attic does not always mean a dry roof. Water can travel along a rafter before it shows up in a room. That is why the attic check is an important part of the visit.
If the attic shows staining, ask the inspector to point out those spots. Seeing them in person helps you understand where water may have entered.
Step Five: The Written Summary
After the visit, you should receive a written summary. A good summary explains what was checked, what was found and what needs attention. It should include photos and recommended next steps. Estimates are written and itemized after an inspection, so you can compare options at your own pace.
Read the summary slowly. Look for the parts of the roof that were inspected and the areas that were not. If something is unclear, call and ask. A clear summary helps you make a calm decision.
Questions to Ask During the Visit
Good questions help you understand your roof. Consider asking:
- Which problems need attention now, and which can wait?
- What caused the damage you see, and is it likely to spread?
- Which parts of the roof were not accessible, and why?
- What is the best next step for my type of roof?
- How long does the repair usually take?
What Florida Roofs Face
Roofs in Lake Worth and across Palm Beach County face heavy rain, strong sun and salt air. Storm season adds wind and flying debris. These conditions can loosen materials and wear down seals over time. A regular inspection helps you catch small issues early.
If the inspection shows a problem, you may need repair work. Learn more about our roof inspection services. You can also read our guide on pre-season roof inspections to plan ahead.
Schedule Your Free Roof Inspection
Dalton Roofing offers a free roof inspection with a written summary and no obligation. We are a family-owned company based in Fort Pierce. We serve St. Lucie, Martin, Palm Beach and Indian River Counties, including Lake Worth. English and Spanish are spoken here.
Call (561) 662-6622 to schedule your free roof inspection. You will receive a written, itemized estimate after the visit, and we are happy to walk you through each step.
Frequently Asked Questions
How long does a roof inspection take?
Most visits take a while because the inspector checks the outside, the roof, the attic and the photos. Ask the company how long your visit will take.
Do I need to be home for the inspection?
It helps to be home so you can ask questions and see the photos. Ask the company what access they need before the visit.
What do I get after a roof inspection?
You should get a written summary with photos and recommended next steps. Estimates are written and itemized after the inspection.