
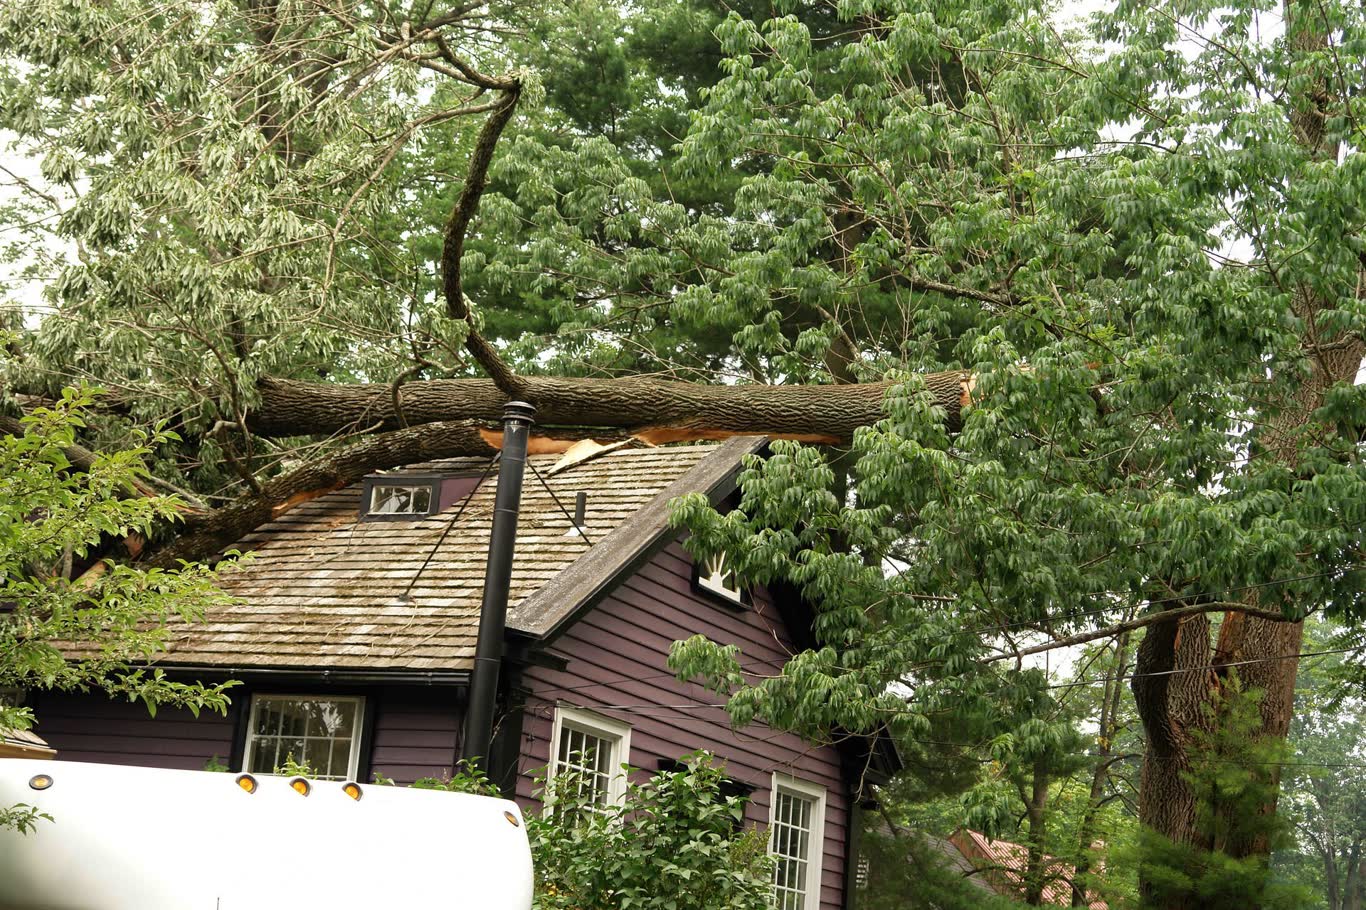
Good photos make roof damage easier to explain. Before you call your insurance company, document what you can see from the ground and inside the home. Write down dates, take clear pictures and keep every receipt for emergency work.
Why Documentation Matters After a Storm
Storms can damage a roof in ways that are not obvious from the street. Wind can lift shingles, rain can soak insulation and hail can crack tiles. Clear records help you explain what happened and when. They also help a roofer and your insurance company understand the same problem.
Records do not decide any outcome. An insurer makes its own decisions based on your policy and its own review. Your job is to give a clear, honest picture of the damage.
Start With a Safe Look From the Ground
Stay on the ground for the first photos. Never climb onto a damaged roof, and stay away from loose tiles or hanging gutters. Use your phone camera. Take wide shots first, then close-ups.
- Wide shot of each side of the house. Show the whole roof line so the damage has context.
- Missing or lifted shingles. Photograph each spot and any debris below it.
- Bent or displaced metal. Capture flashing, edges and ridge caps.
- Cracked or slipped tiles. Shoot the area from a few angles.
- Fallen branches or debris. Show what hit the roof and where it landed.
Check Inside the Home
Water damage often shows up inside first. Look at ceilings, walls, closets and the attic if you can reach it safely. Photograph stains with a ruler or a coin beside them for scale. Note the date you first saw each stain.
Take pictures of wet insulation, dripping light fixtures and any warped flooring. If water is still coming in, move belongings out of the way and place buckets to protect the floors. Keep those photos too, since they show the damage as it happened.
Dates, Notes and a Simple Log
Photos are more useful when you know when and where they were taken. Most phones store the date automatically, but do not rely on that alone. Keep a short written log with the date, the time, the weather and what you saw.
- Date and time of each photo or observation
- Weather conditions during the storm and afterward
- Which room or roof area each photo shows
- Any temporary repairs you made and why
Store a copy of the photos somewhere other than your phone. A cloud folder or a shared drive works well. Keep the originals unedited so they show the damage as it was.
Keep Receipts for Emergency Work
Costs add up quickly after a storm. Tarps, boards, wet vacuum rentals, ladders and emergency labor all need records. Keep every receipt and invoice in one folder. Note what each item was for and which part of the home it protected.
If you hired a roofer for emergency repairs, ask for a written invoice that describes the work. Clear paperwork makes it easier to review the costs later with your insurer.
Why a Roofer Inspection Report Helps
A written roofer inspection gives you a second set of eyes. A good report describes the damaged areas, the materials involved and the repairs that are needed. It can also include close-up photos taken from safe positions, which you may not be able to capture yourself.
Ask the roofer to put the findings in writing and to date the report. An itemized summary is easier to read and share than a phone call from memory.
What to Avoid Before the Call
- Do not delete photos. Even blurry or early shots can show the timeline.
- Do not throw away damaged materials right away. Keep a sample safely if you can.
- Do not guess at the cause. Describe what you saw and when you saw it.
- Do not sign papers you do not understand. Ask questions first.
Storm Season Across the Treasure Coast
Homeowners across the Treasure Coast and Palm Beach County know how quickly weather can change. Port St. Lucie, Stuart, Jupiter and Vero Beach homes all face storms, wind and heavy rain. The same documentation steps apply in every city, though roof materials may differ from one home to the next.
Shingle, tile, metal and flat roofs each show damage in their own way. Ask your roofer what to look for on your type of roof. A quick conversation can keep you from missing a key clue. Bring the same log and photos to every conversation so each person sees the same facts.
Next Steps After a Storm
Start with safety. Get everyone out of harm's way, then begin the photo checklist from the ground. Make your written log, save receipts and schedule a roofer for an inspection. Then contact your insurance company with clear records in hand.
For a broader look at the process, read our Florida roof insurance claim guide. If your roof needs urgent help, our storm and emergency roof repair team responds around the clock.
Dalton Roofing Inc offers a free roof inspection with a written summary and no obligation. We speak English and Spanish. Call (561) 662-6622 to request an estimate or schedule your inspection.
Frequently Asked Questions
Should I climb onto the roof to take photos?
No. Take photos from the ground and from safe spots inside the home. Leave any close inspection to a roofer who has the right equipment.
Do I need to call my insurer right away?
Contact your insurance company as soon as you can after a storm. Having dated photos, notes and receipts ready makes that first conversation easier.
Does a roofer inspection decide my claim?
No one can promise that. An inspection report gives you a clear written record of the damage. Your insurer makes its own decisions based on your policy.
What if I already fixed some damage?
Photograph the damage before and after any temporary repair, and keep receipts for materials and labor. Explain in your log what was done and why.